

DIY Flower Crowns
DIY Flower Crowns
How To Make Pinterest Worthy Flower Crowns
When you think of dreamy photo sessions, why not add a floral crown? Floral crowns have been all the rage on Pinterest for engagement sessions, maternity sessions, and of course, in weddings! Even though floral crowns are gaining popularity now, they are not all that new. They have been worn back in Ancient Greece and during the Medieval Ages to celebrate special events. Pretty cool, right?! Floral crowns are not as hard to make as you would think. I’m going to show you step by step how to make the perfect floral crown!
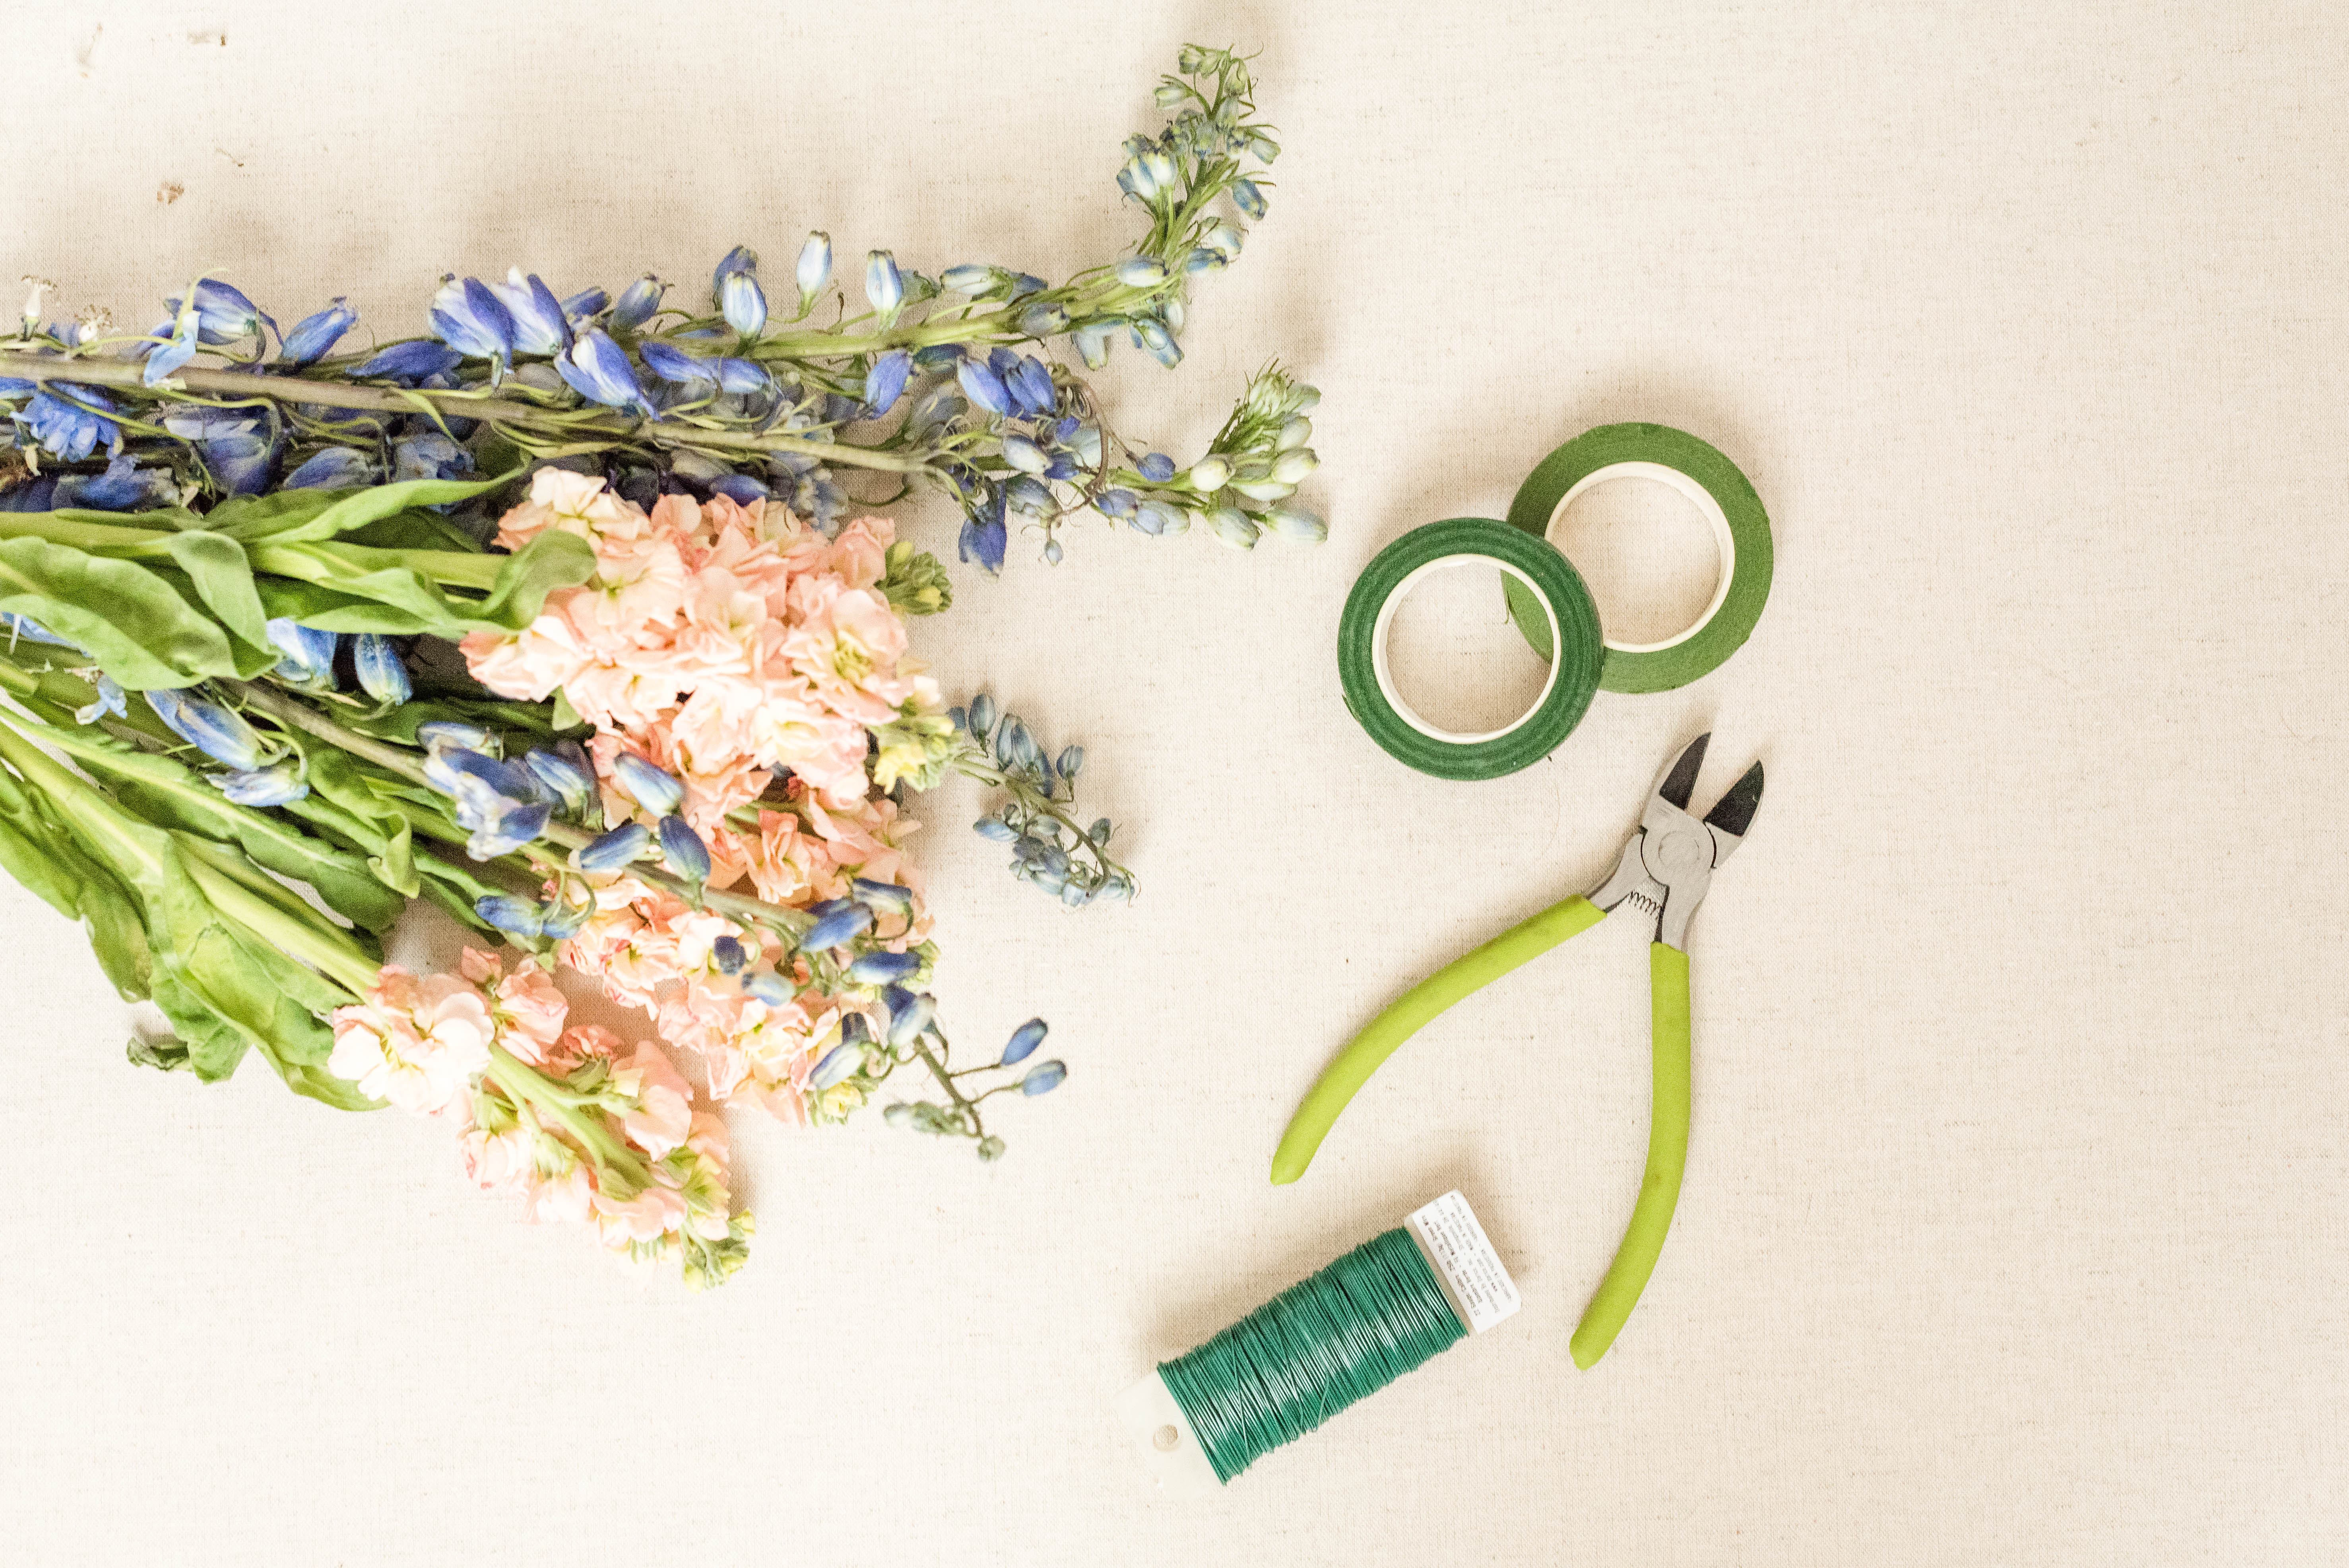
You Will Need:
• Floral Wire
• Floral Tape
• Wire Cutters
• Greenery
• Flowers
One thing to note, the size of the flowers/greenery will dictate how big you want the floral crown to be. For a big statement, use bigger flowers, for something simpler use smaller flowers. I like using smaller flowers and greenery for a more whimsical look.
Instructions:
1) Take a piece of floral wire and form it into a circular shape. Place the wire on top of your head to measure how big the wire will need to be for your floral crown. I always measure on the crown of my head, worn a little-tilted back. This ensures a more natural look. I always double wire the circle so there is an extra strength.
2) Next, you will need to wrap floral tape around the wire. Floral tape sticks to itself. To start the tape wrapping process, hold a piece of the wire and the edge of the tape. Pull tightly, the tape will stretch and then stick to itself. Continue this process all the way around the crown.
3) Next, choose your greenery and flowers. I first tape the greenery around the crown first and then add the flowers. To add the greenery choose small pieces at a time. Secure the greenery to the crown with floral tape. Sometimes you will need to overlap the greenery pending the look you want to achieve.
4) Once the greenery is taped to the crown, you can add your flowers! When adding flowers, make sure there is enough stem to tape to the crown and secure the flowers. Flowers can be a little top-heavy so you want to make sure they are fastened properly. Tape the flowers to the crown the same way as the greenery. Trim any stems if they are too long after attached.
5) Now the fun begins! Add as many or as little flowers and greenery to your crown. You can play around with different sizes and textures! There’s really no wrong way to make a flower crown. It does take some time and practice to perfect these sweet crowns.
6) To store your flower crown, you can place it in a plastic bag with misted water inside and place in your refrigerator. I always place them towards the front of the refrigerator so they one freeze. They will last for 24 hours this way!
7) Have fun! I believe working with flowers is a lot like working with food. Add lots of love and they will turn out great! I’d love to see your flower crowns! Be sure to send me a photo of your little pretties HERE.
How To Make Pinterest Worthy Flower Crowns
When you think of dreamy photo sessions, why not add a floral crown? Floral crowns have been all the rage on Pinterest for engagement sessions, maternity sessions, and of course, in weddings! Even though floral crowns are gaining popularity now, they are not all that new. They have been worn back in Ancient Greece and during the Medieval Ages to celebrate special events. Pretty cool, right?! Floral crowns are not as hard to make as you would think. I’m going to show you step by step how to make the perfect floral crown!
You Will Need:
• Floral Wire
• Floral Tape
• Wire Cutters
• Greenery
• Flowers
One thing to note, the size of the flowers/greenery will dictate how big you want the floral crown to be. For a big statement, use bigger flowers, for something simpler use smaller flowers. I like using smaller flowers and greenery for a more whimsical look.
Instructions:
1) Take a piece of floral wire and form it into a circular shape. Place the wire on top of your head to measure how big the wire will need to be for your floral crown. I always measure on the crown of my head, worn a little-tilted back. This ensures a more natural look. I always double wire the circle so there is an extra strength.
2) Next, you will need to wrap floral tape around the wire. Floral tape sticks to itself. To start the tape wrapping process, hold a piece of the wire and the edge of the tape. Pull tightly, the tape will stretch and then stick to itself. Continue this process all the way around the crown.
3) Next, choose your greenery and flowers. I first tape the greenery around the crown first and then add the flowers. To add the greenery choose small pieces at a time. Secure the greenery to the crown with floral tape. Sometimes you will need to overlap the greenery pending the look you want to achieve.
4) Once the greenery is taped to the crown, you can add your flowers! When adding flowers, make sure there is enough stem to tape to the crown and secure the flowers. Flowers can be a little top-heavy so you want to make sure they are fastened properly. Tape the flowers to the crown the same way as the greenery. Trim any stems if they are too long after attached.
5) Now the fun begins! Add as many or as little flowers and greenery to your crown. You can play around with different sizes and textures! There’s really no wrong way to make a flower crown. It does take some time and practice to perfect these sweet crowns.
6) To store your flower crown, you can place it in a plastic bag with misted water inside and place in your refrigerator. I always place them towards the front of the refrigerator so they one freeze. They will last for 24 hours this way!
7) Have fun! I believe working with flowers is a lot like working with food. Add lots of love and they will turn out great! I’d love to see your flower crowns! Be sure to send me a photo of your little pretties HERE.


